Underglaze vs Glaze: What’s the Difference?

By Lucy Alexander

If you’ve spent any time in the glaze room at either of our studios, you’ve probably seen some jars labeled underglaze — and you may have wondered what is underglaze and how is it different from glaze? They look similar, they both add color, and they both get fired… so what is underglaze for and when should it be used vs glaze?

This post breaks down what underglazes and glazes actually are, how they behave at cone 5, when to combine them, and when you don’t need to. Whether you're new to clay or years into your practice, understanding the difference will dramatically expand your options for surface design and creative expression.

What Is Underglaze?

Underglaze is essentially colored clay, made from pigments or stains, clay, water, and a very small amount of flux. Because of this clay-based structure, underglaze stays exactly where you put it — even at cone 5. This makes it perfect for precise, detailed surface work such as illustration, linework, sgraffito, or painting.

Underglazes fire to a matte surface on their own, and they do not melt or become glassy without a clear glaze over them.

Why Use Underglazes?

Underglazes offer a level of control, stability, and versatility that glazes simply can’t match. One of their biggest advantages is that they can be applied at two different stages: on greenware (before the bisque firing) or on bisqueware (after the bisque firing). Glazes, by contrast, can only be applied to bisqueware.

Because underglazes are essentially colored clay, they are extremely stable in the kiln. They do not run, melt, shift, or move during firing, which gives you reliable, predictable results even with delicate surface designs.

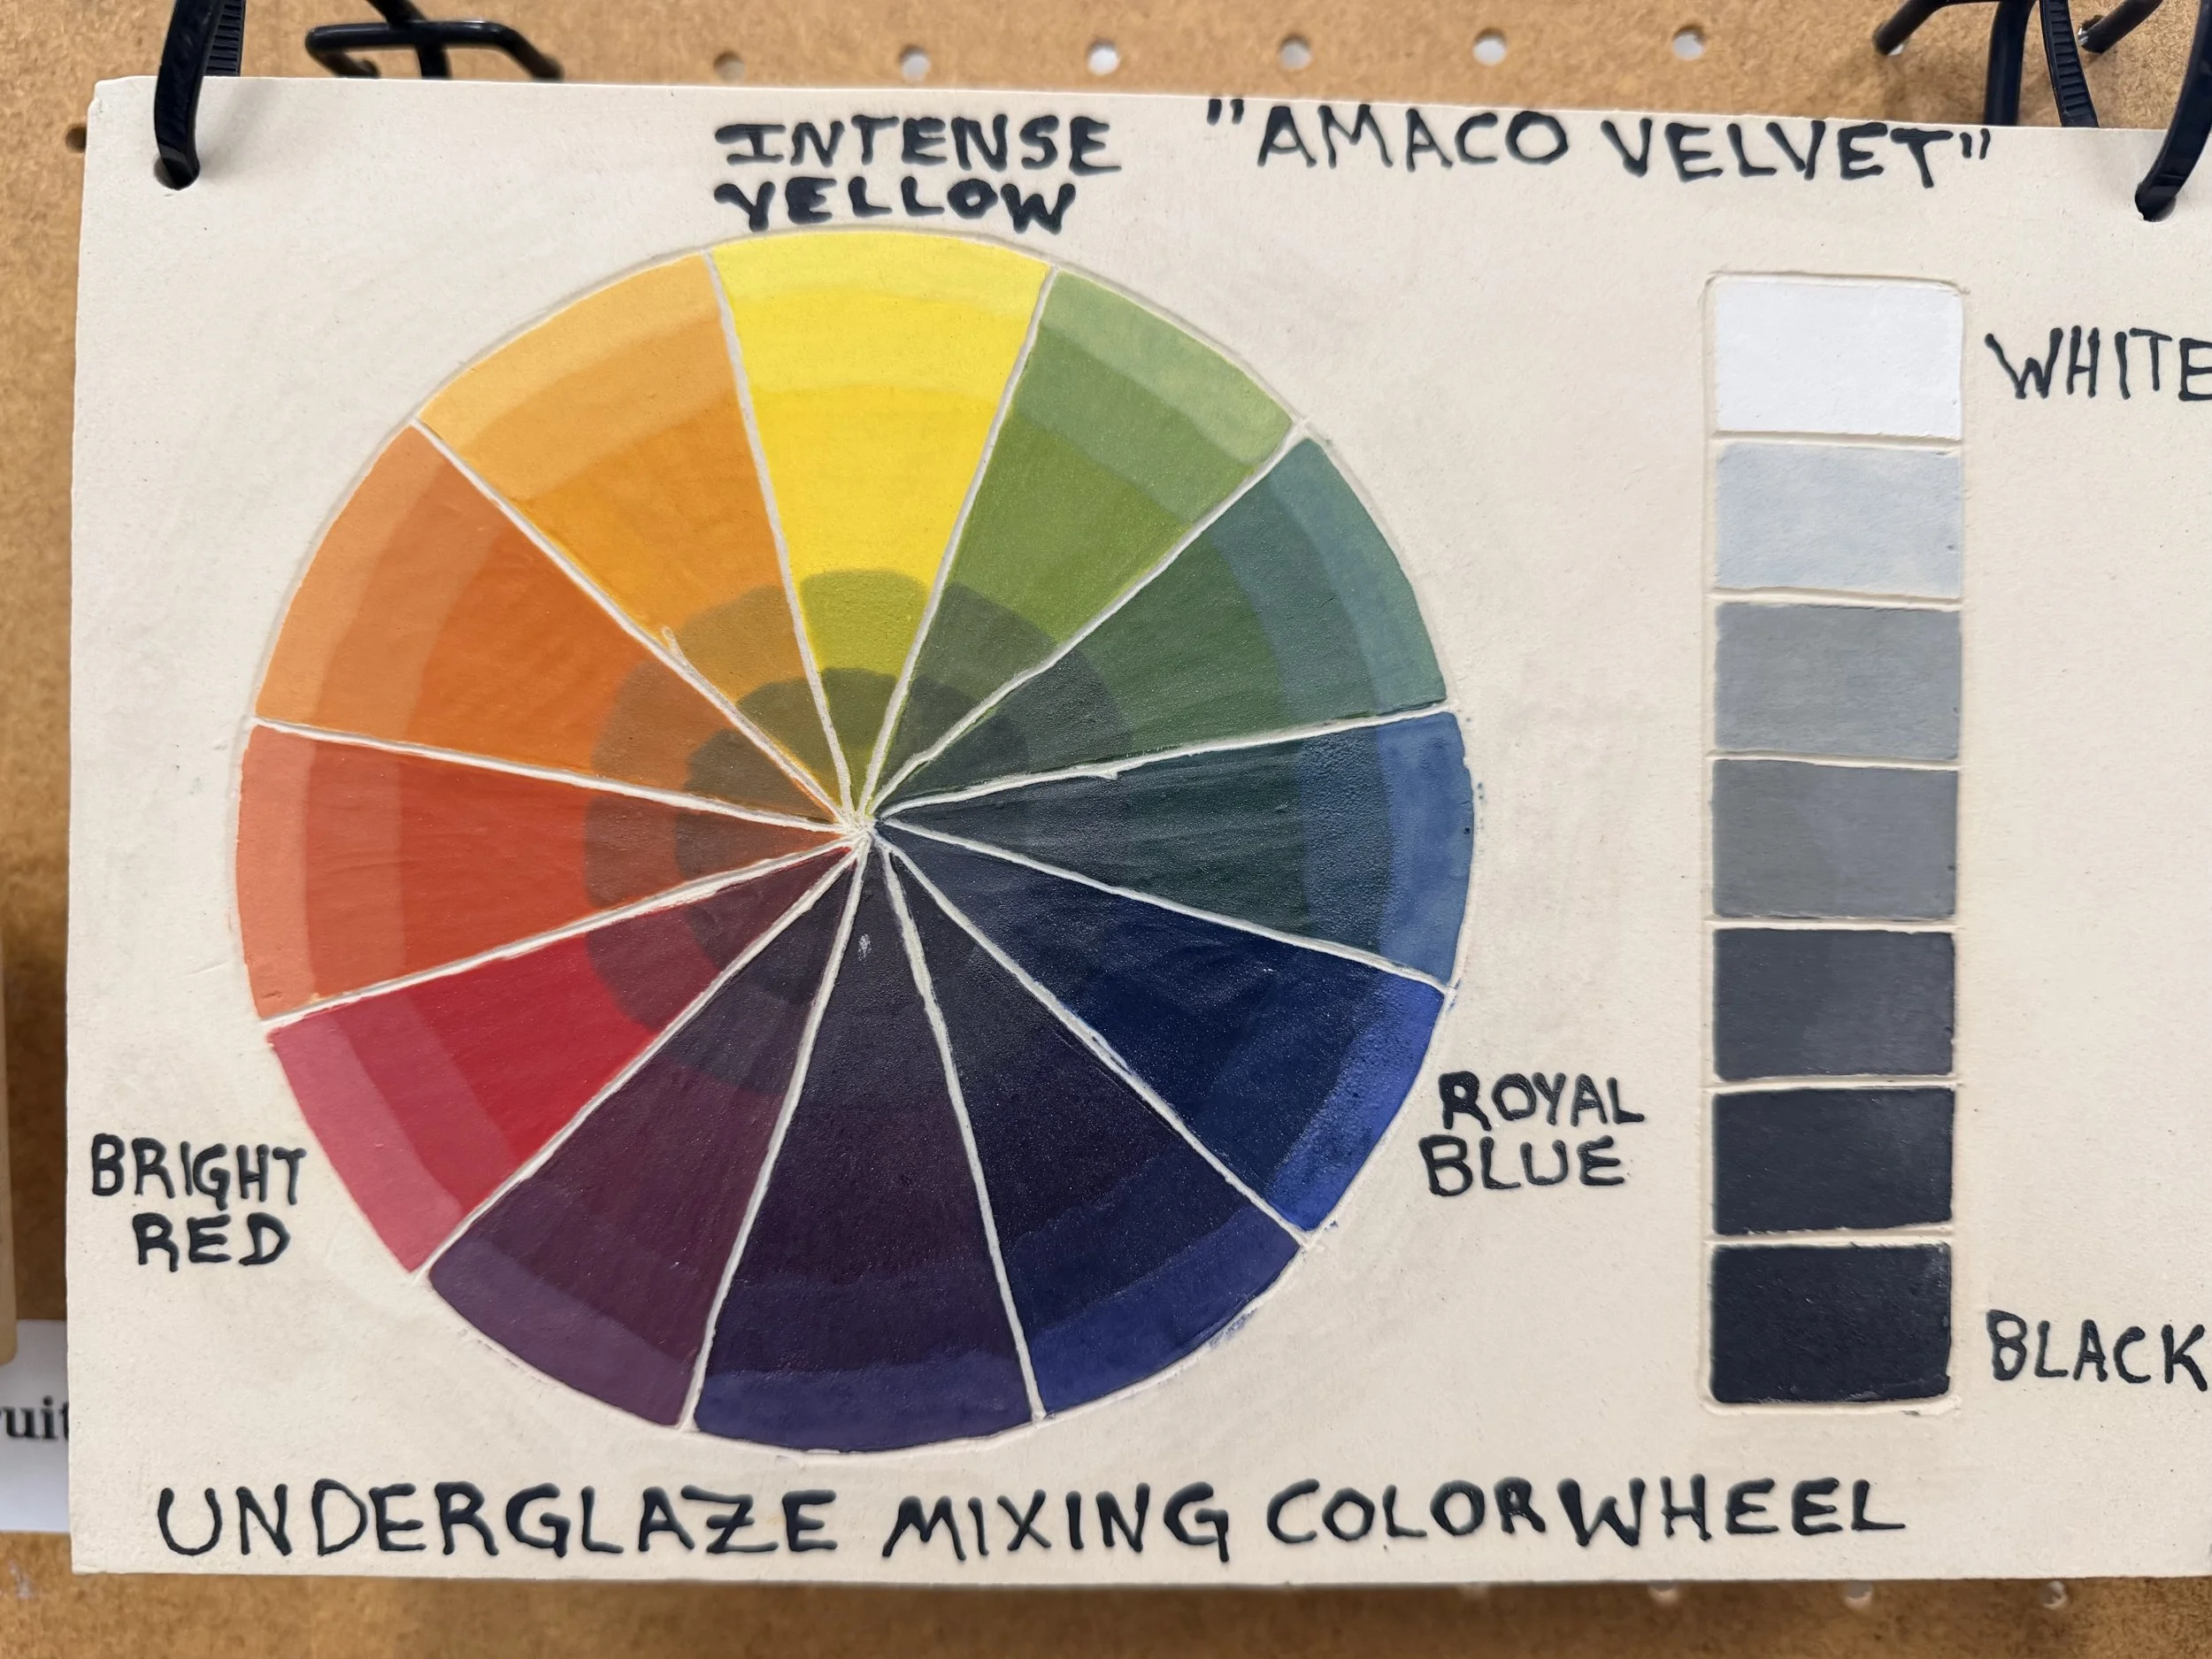
Underglazes can also be mixed like acrylic or oil paints, allowing you to blend custom hues and create your own palette. You can lighten, darken, tint, or tone colors in ways that aren’t possible with glazes.

This makes underglazes ideal for:

  • painting fine lines

  • detailed illustration

  • lettering

  • subtle shading

  • delicate, painterly surfaces

  • sgraffito and mishima

What Is Glaze?

Glaze is essentially a thin layer of melted glass that fuses to the clay body during firing. It’s made from a blend of silica (the glass former), fluxes (which lower the melting point), alumina (which adds stability and prevents the glaze from running too much), and various colorants or opacifiers to achieve different surfaces and effects.

When fired to cone 5, glaze melts into a smooth, continuous coating that:

  • seals the pores of the clay body

  • creates a more water-tight, impervious surface

  • can be glossy, satin, or matte depending on the formula

  • increases durability and makes functional ware easier to clean

How Underglaze and Glaze Work Together

If you want your underglaze design to be shiny, apply a clear glaze after bisque firing. The clear coat brightens color, adds durability, and creates a sealed surface.

However:

✔ Underglaze without clear glaze is still functional

It remains slightly porous and matte, but is still safe to use — many potters intentionally leave the outside of their pieces unglazed for a soft, tactile texture.

✔ Underglaze with clear glaze becomes sealed and glossy

This is ideal for any surface that will come into contact with food, water, or regular wear.

Studio Recommendation

  • Always glaze the inside of functional ware used for food or drink

  • Always glaze the inside of vases or anything meant to hold water

  • The outside of pieces can be underglaze-only and still perfectly usable

Important Note for Our Studios

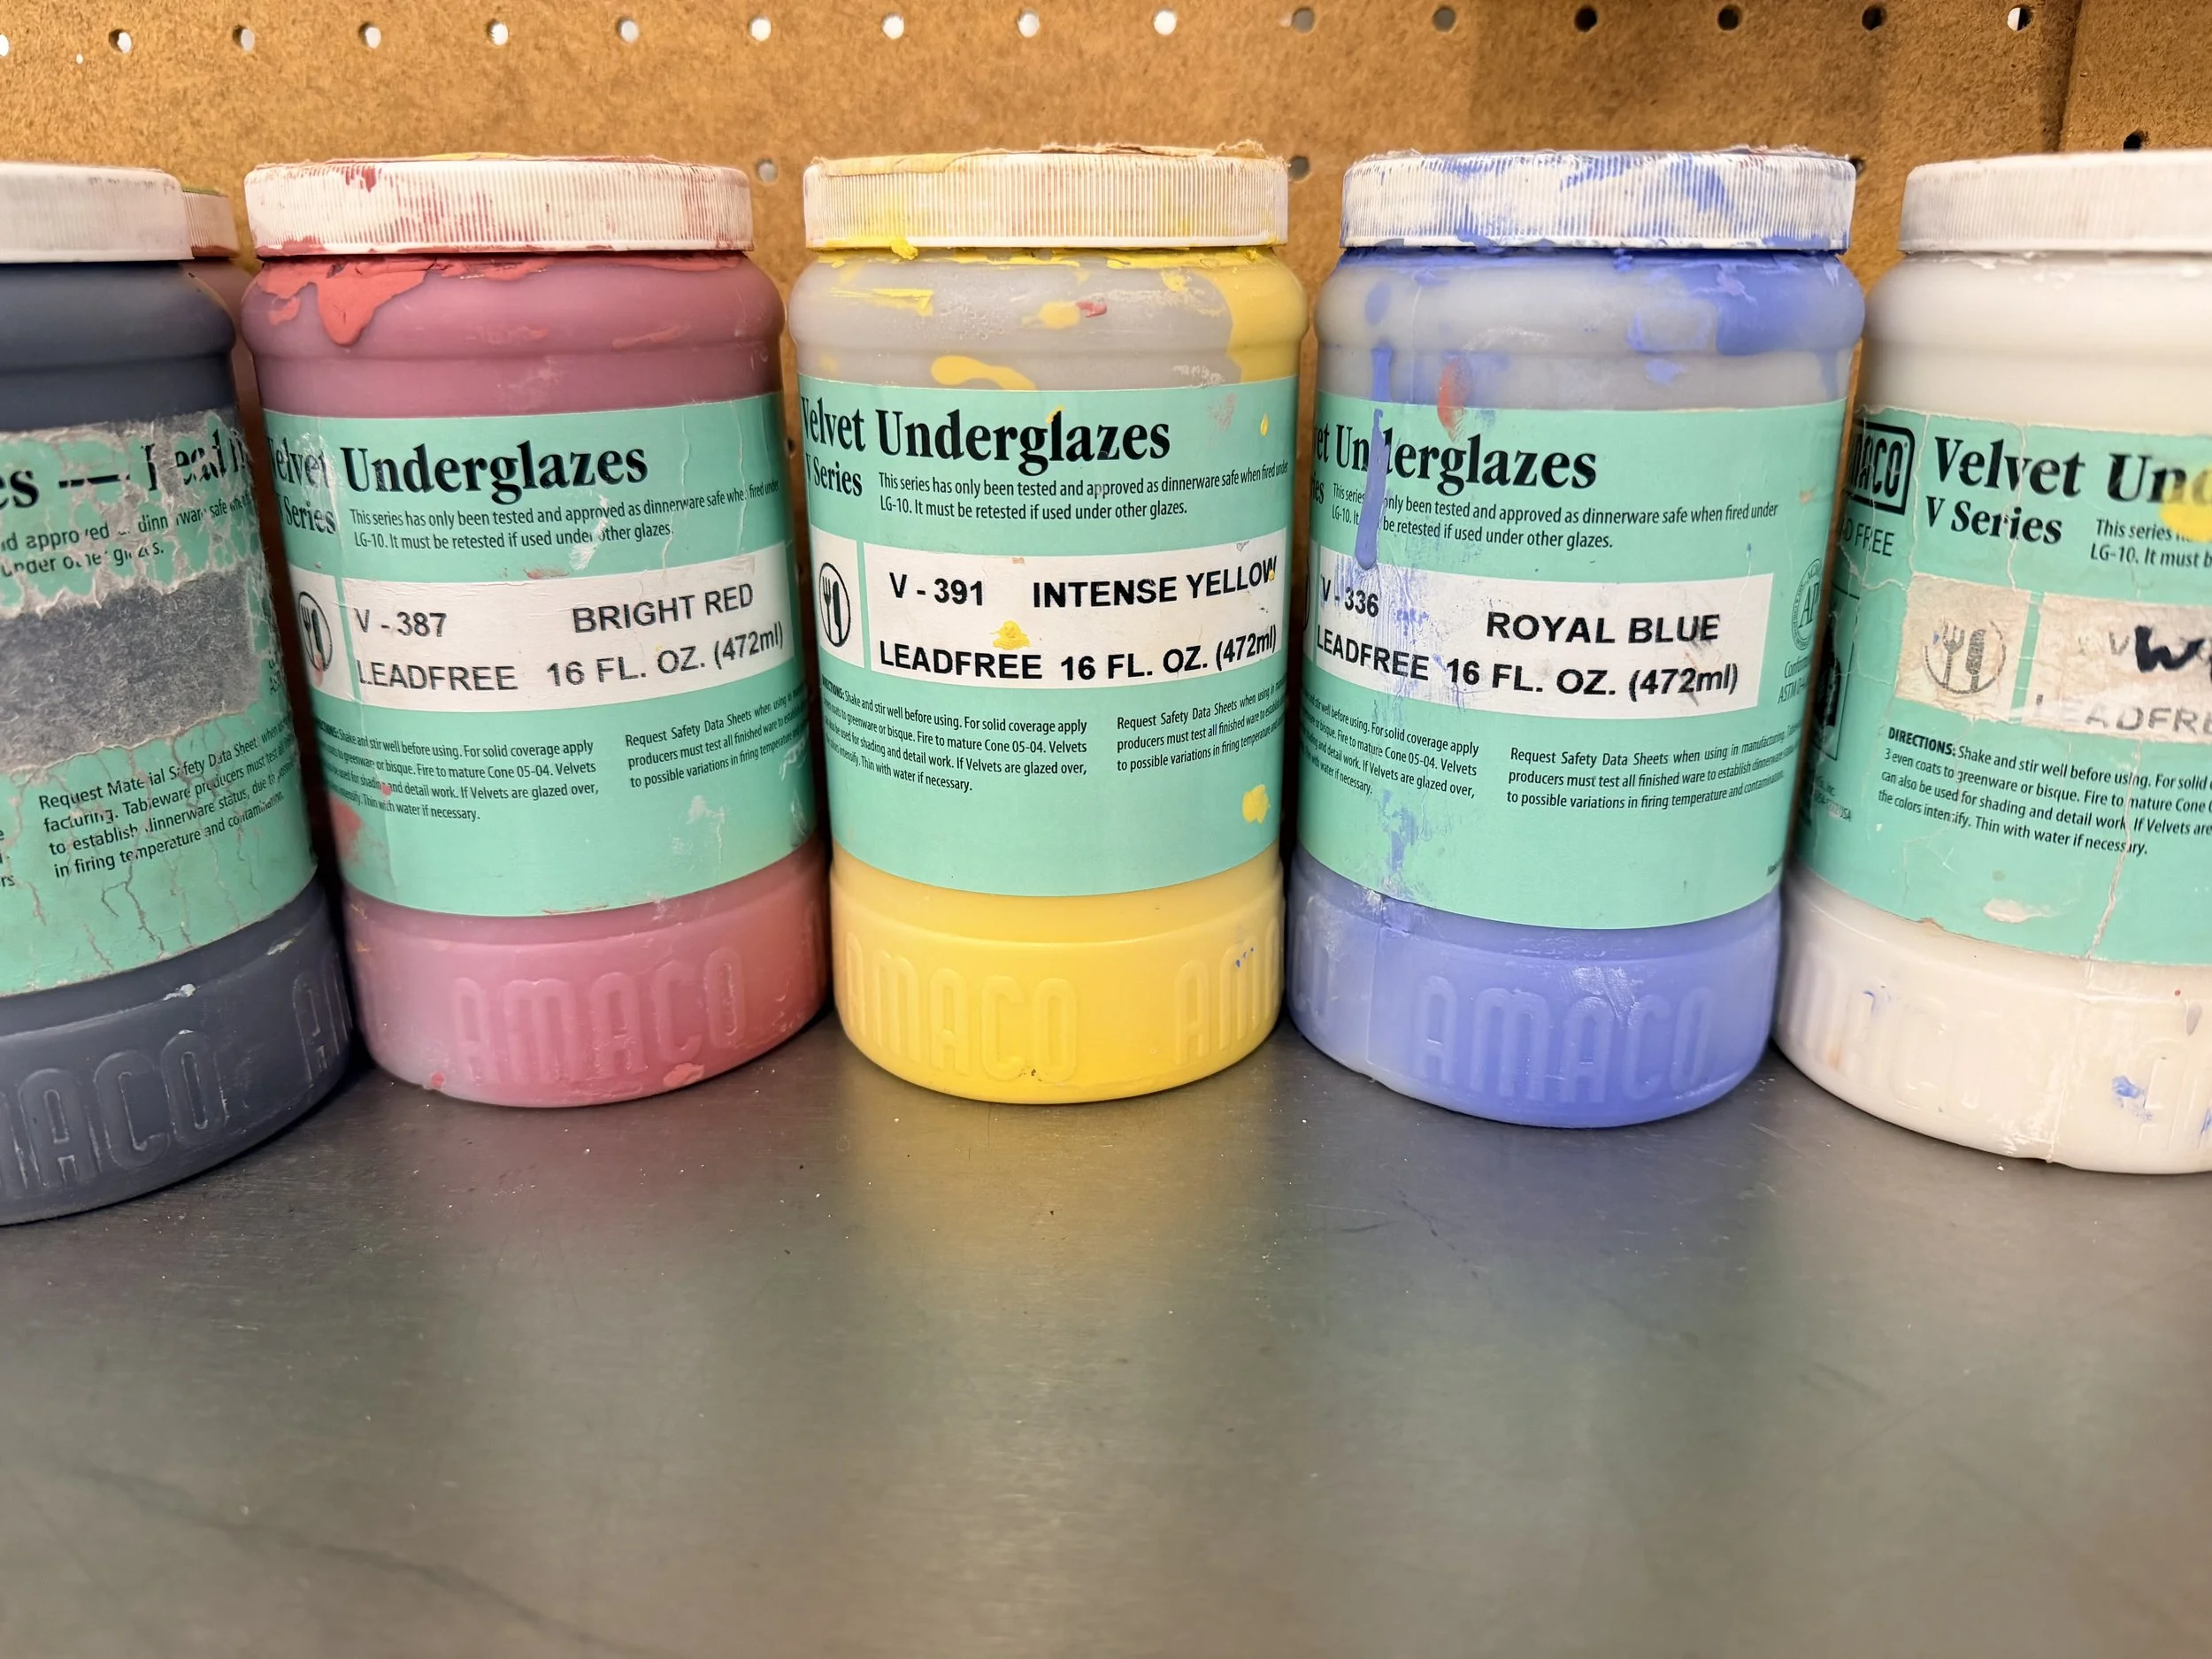
When using Amaco Velvet Underglazes, we recommend the
Zinc-Free Brushing Clear instead of our studio-made dipping clear.
The zinc-free formula produces more consistent, predictable results and prevents color shifts or unexpected textures on Velvets.

How Underglaze Behaves at Cone 5

Most major underglaze brands hold up beautifully at cone 5. You can expect:

  • strong, vibrant color

  • crisp lines

  • excellent stability

  • minimal smudging under clear glaze

  • very little movement during firing

A few colors (especially pinks, purples, and bright reds) may shift depending on pigment chemistry, but overall underglazes are highly dependable at mid-range.

Why Underglaze Sometimes Smudges Before Firing

If your underglaze smears when applying clear glaze, don’t panic — the smudge usually disappears after firing. Smudging is more likely to happen when:

  • the underglaze was applied very thick

  • it hasn’t fully dried

  • the bisque surface is especially smooth

  • the clear glaze brush is overly wet or aggressive

To reduce smudging:
Let underglaze dry thoroughly and lightly dampen the bisque before glazing to help the brush glide smoothly.

Why and When to Use Glaze Instead of Underglaze

Use glaze when you want:

  • a sealed, non-porous surface

  • a shiny or satin finish

  • a functional interior surface

  • melted, glassy texture

Use underglaze when you want:

  • precision

  • linework

  • illustration

  • mixed colors

  • painterly marks

  • sgraffito or mishima

  • stable, non-moving color

Many artists use both — glaze for function, underglaze for expression.

Final Thoughts

Underglaze and glaze each bring something different to the ceramic process. Underglazes give you precision, mixable color, and painterly control. Glazes give you shine, sealing, and the glassy finish associated with functional pottery.

Understanding how both materials behave at cone 5 — and how to combine them effectively — opens up a world of creative possibilities. If you ever want help choosing materials or exploring new techniques, we’re always here to support your process.

What Are Cones and Why Do They Matter?

(with your accurate studio practices about bisque at 06, glaze at 5, and using 3 witness cones per glaze firing)

Below is a polished, accurate, studio-specific draft you can publish as-is.

What Are Cones and Why Do They Matter?

By Lucy Alexander

If you’ve ever taken a ceramics class, you’ve probably heard people talking about “cone 5,” “cone 06,” or “putting cones in the kiln.” Cones are one of those things that sound technical or mysterious at first — but once you understand them, they make the entire firing process clearer and more predictable.

This post breaks down what cones are, why we rely on them at both Amphora and Mill Valley Pottery Studio, and what they tell us about your work as it moves from soft clay to finished ceramic.

What Is a Pyrometric Cone?

A pyrometric cone is a small, slender piece of ceramic material that is formulated to bend at a specific amount of heatwork — meaning the blend of heat + time the kiln applies.

A cone melting or bending is physical proof of what really happened inside the kiln.

A kiln may read 2167°F, but that doesn’t actually tell you whether the clay and glaze matured properly.
The cone does.

Heatwork: Why Temperature Alone Isn’t Enough

A kiln controller tells you the temperature, but in ceramics, temperature is only part of the story.

What actually matters is heatwork, which includes:

  • the peak temperature

  • how long the kiln stayed at that temperature (soak)

  • how quickly or slowly it climbed

  • the atmosphere inside the firing chamber

  • overall firing profile

Two firings can reach the same number on the controller but produce completely different glaze results.

Cones tell us which firing actually delivered the right heatwork, not just the right temperature.

Cone Numbers: Understanding the System

This is where most beginners get thrown off — the cone system runs backwards, and the presence of a zero matters.

Rule of thumb:

  • Cones with a zero (06, 05, 04…) are lower temperature.

  • Cones with no zero (5, 6, 7…) are mid- to high-fire.

Typical temperatures

(Exact temps vary slightly by kiln schedule.)

ConeApprox. °FTypeCommon Use06~1828–1830°FLow-fireBisque firing (ours!)05~1888°FLow-fireBisque or low-fire glaze5~2167°FMid-rangeOur glaze firing6~2232°FMid-rangeHigher mid-range glazes

The big confusion: Cone 06 vs Cone 5

They are not related — in fact, they’re nearly 900°F apart.

  • Cone 06 = gentle, porous, perfect for bisque

  • Cone 5 = strong, vitrified, glaze maturation

Why We Bisque Fire to Cone 06

At both studios, we bisque fire all work to cone 06. We do this because cone 06 hits the “sweet spot” where:

  • The clay becomes sturdy enough to handle

  • It remains porous enough to absorb glaze beautifully

  • Underglazes bond well

  • Glazing becomes easier for students of all levels

And just as importantly:

Bisque firing prevents explosions in the glaze kiln

Bisque firing removes moisture, organics, combustibles, and binding agents slowly and safely.
A blowout in a bisque kiln is inconvenient — but a blowout in a glaze kiln (full of shelves, glaze, and other people’s work) can be disastrous.

Cone 06 ensures your work is safe, stable, and ready for glazing.

Why We Glaze Fire to Cone 5

Our studio clay bodies and glaze materials are designed for mid-range firing at cone 5.

Cone 5:

  • fully matures our stoneware clay bodies

  • produces strong, functional ceramics

  • gives us a huge range of stable, beautiful glaze surfaces

  • uses less electricity than cone 10 (more sustainable for community studios)

This level is ideal for everyday functional pottery — mugs, bowls, plates, planters, and more.

Why We Use Witness Cones in Every Glaze Firing

Even with modern digital controllers, witness cones are the most reliable way to measure heatwork.

At both studios, we use a minimum of three witness cones in every glaze firing — placed on multiple shelves.

They tell us:

  • whether the kiln reached proper heatwork

  • whether certain shelves fired hotter or cooler

  • when elements start wearing down

  • how consistent our firings are over time

  • whether a firing was over- or under-fired

Witness cones are one of the simplest and most powerful tools for quality, consistency, and troubleshooting.

Why Cones Matter for You, the Artist

Understanding cones:

  • helps you make sense of glaze results

  • explains why pieces sometimes look different between firings

  • clarifies why bisque and glaze firings are so different

  • improves your ability to troubleshoot

  • makes you a more confident, intentional maker

Whether you're brand new to clay or years into your practice, cone knowledge deepens your connection to the firing process.

Final Thoughts

Cones aren’t just technical tools — they’re how we understand what truly happened inside the kiln. They bridge the gap between science and craft, helping us make consistent, beautiful, durable work.

At Amphora and Mill Valley, we put three witness cones in every glaze firing for exactly that reason. They help us fire safely, responsibly, and with intention — and they help you get reliable results, every time your work goes into the kiln.

Lucy Alexander