By Lucy Alexander
If you’ve ever taken a ceramics class, you’ve probably heard people talking about “cone 5,” “cone 06,” or “putting cones in the kiln.” Cones are one of those things that sound technical or mysterious at first — but once you understand them, they make the entire firing process clearer and more predictable.
This post breaks down what cones are, why we rely on them at both Amphora and Mill Valley Pottery Studio, and what they tell us about your work as it moves from soft clay to finished ceramic.
What Is a Pyrometric Cone?
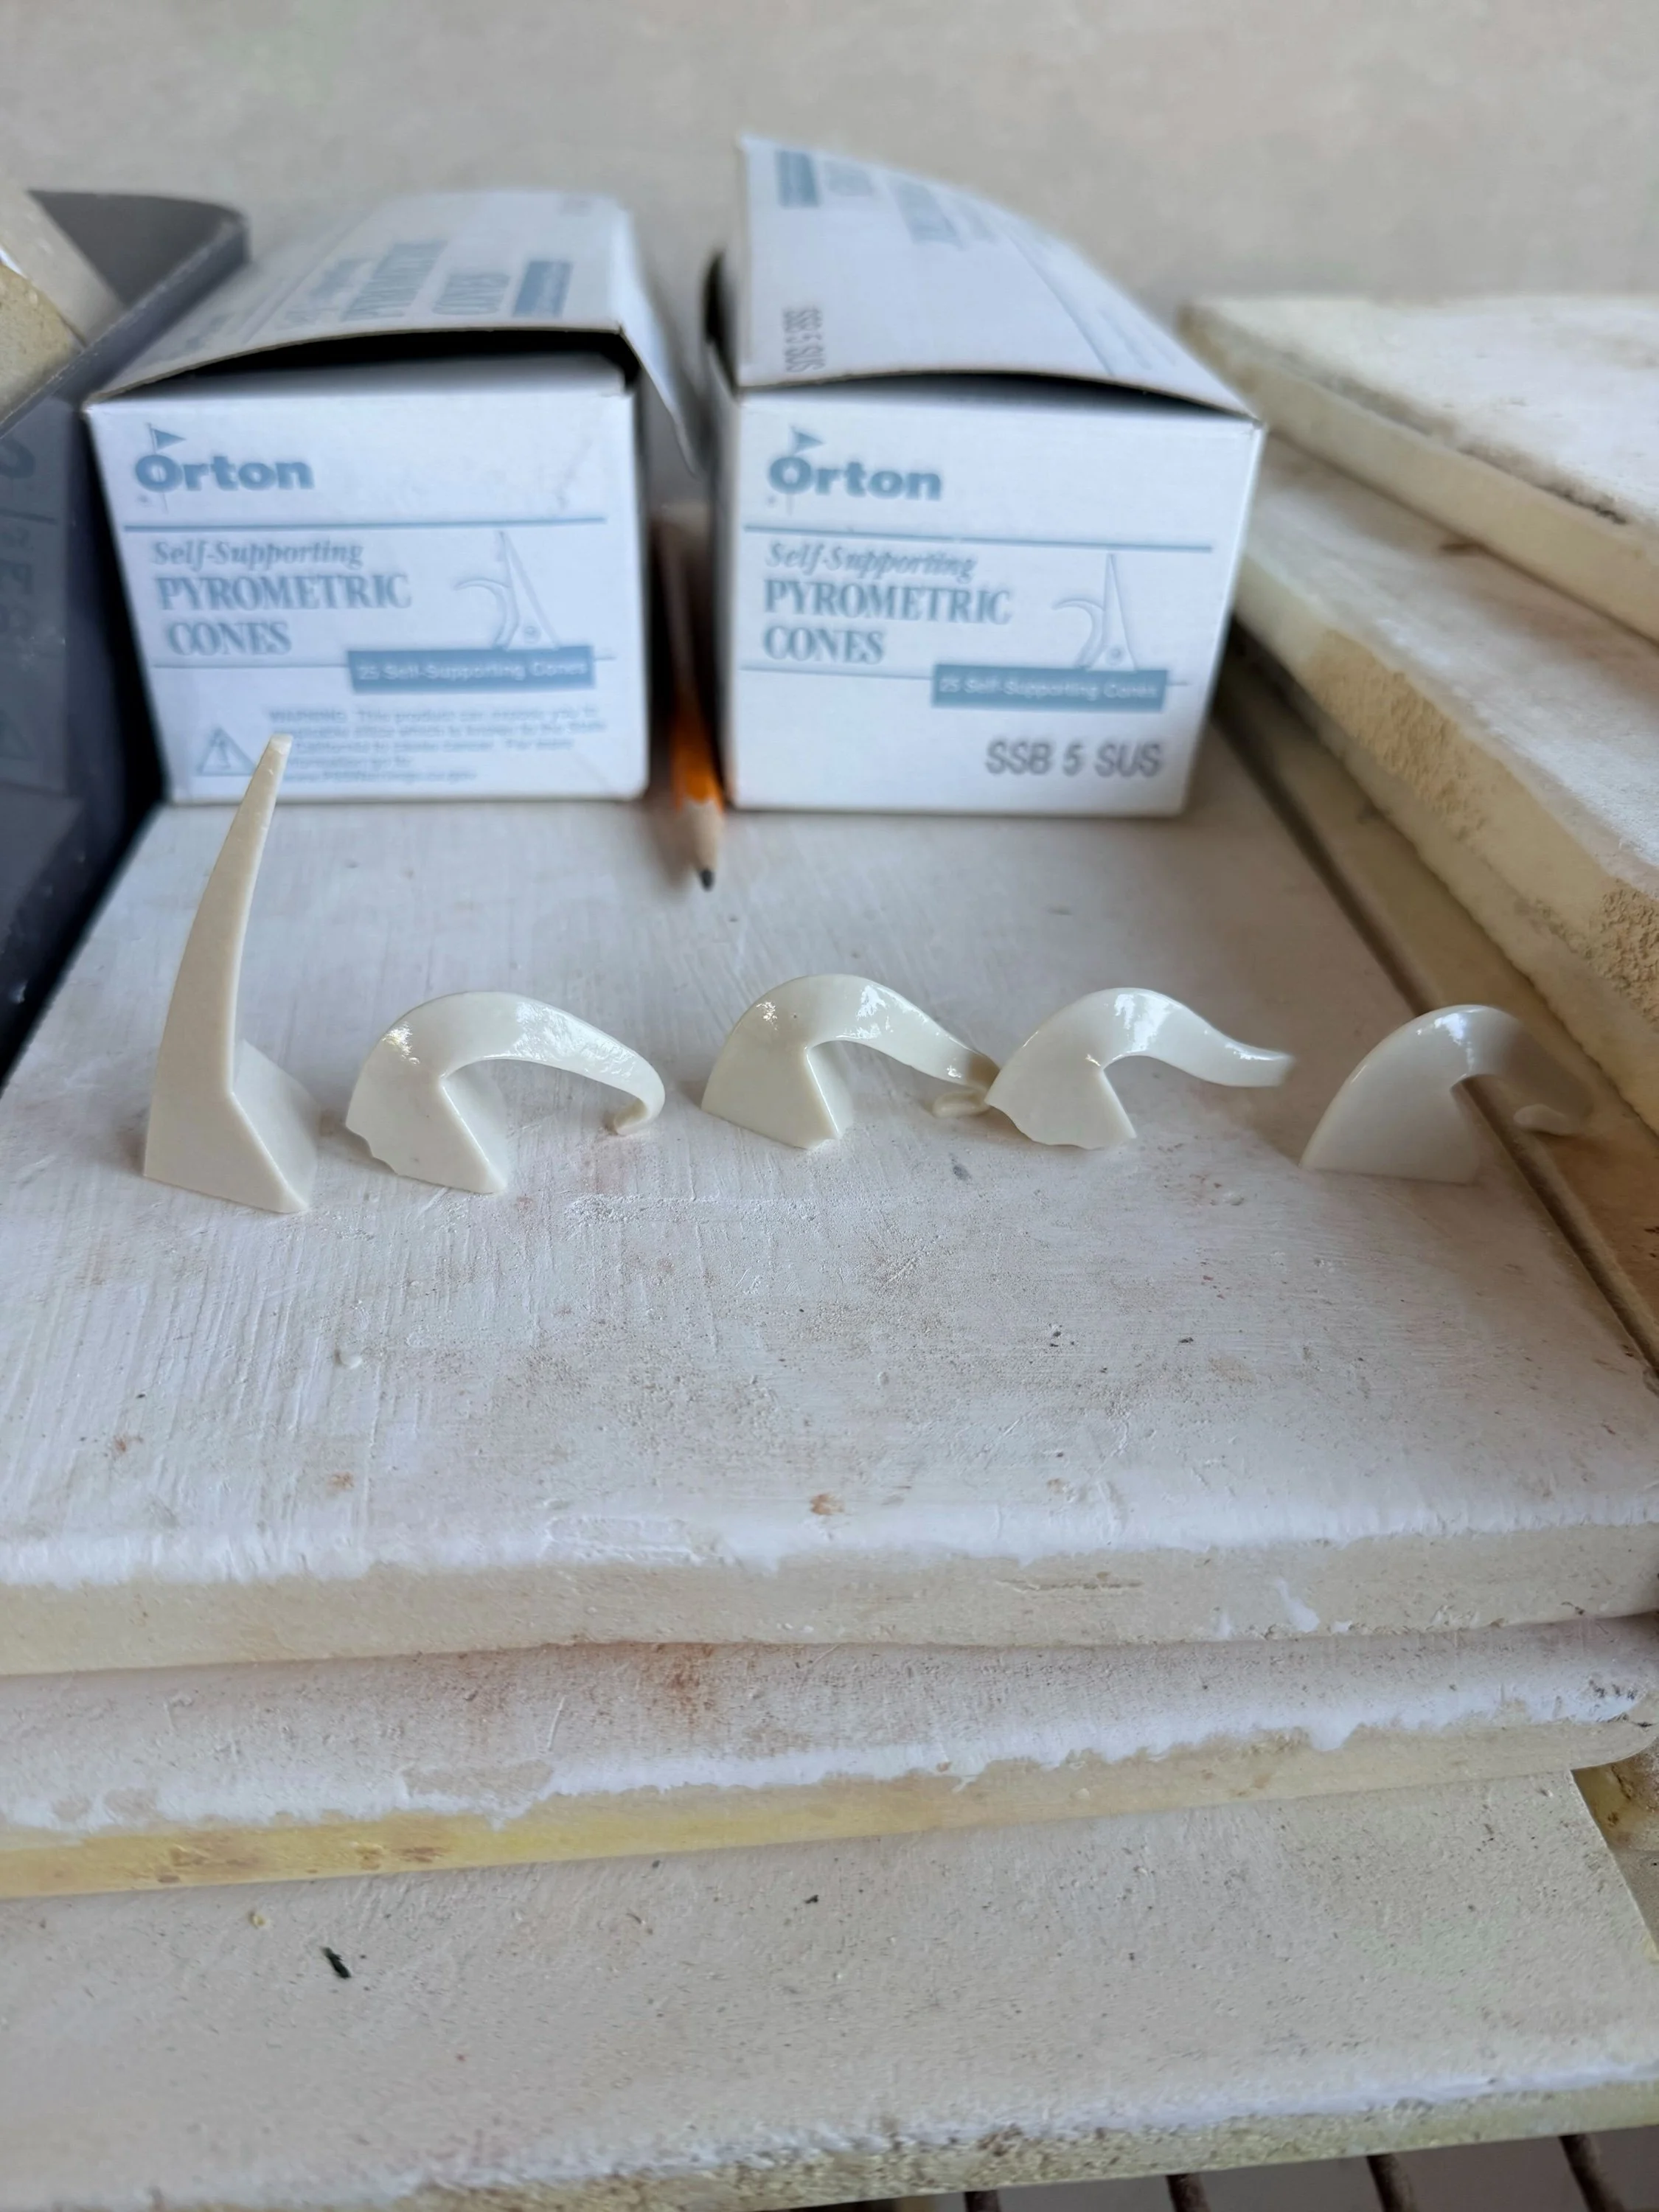
A pyrometric cone is a small, slender piece of ceramic material that is formulated to melt at a specific amount of heatwork — meaning the blend of heat + time the kiln applies.
A cone melting or bending is physical proof of what really happened inside the kiln.
A kiln may read 2167°F, but that doesn’t actually tell you whether the clay and glaze matured properly.
The cone does.
Heatwork: Why Temperature Alone Isn’t Enough
A kiln controller tells you the temperature, but in ceramics, temperature is only part of the story
What actually matters is heatwork, which includes:
the peak temperature
how long the kiln stayed at that temperature (soak)
how quickly or slowly it climbed
the atmosphere inside the firing chamber
overall firing profile
Two firings can reach the same number on the controller but produce completely different glaze results.
Cones tell us which firing actually delivered the right heatwork, not just the right temperature.
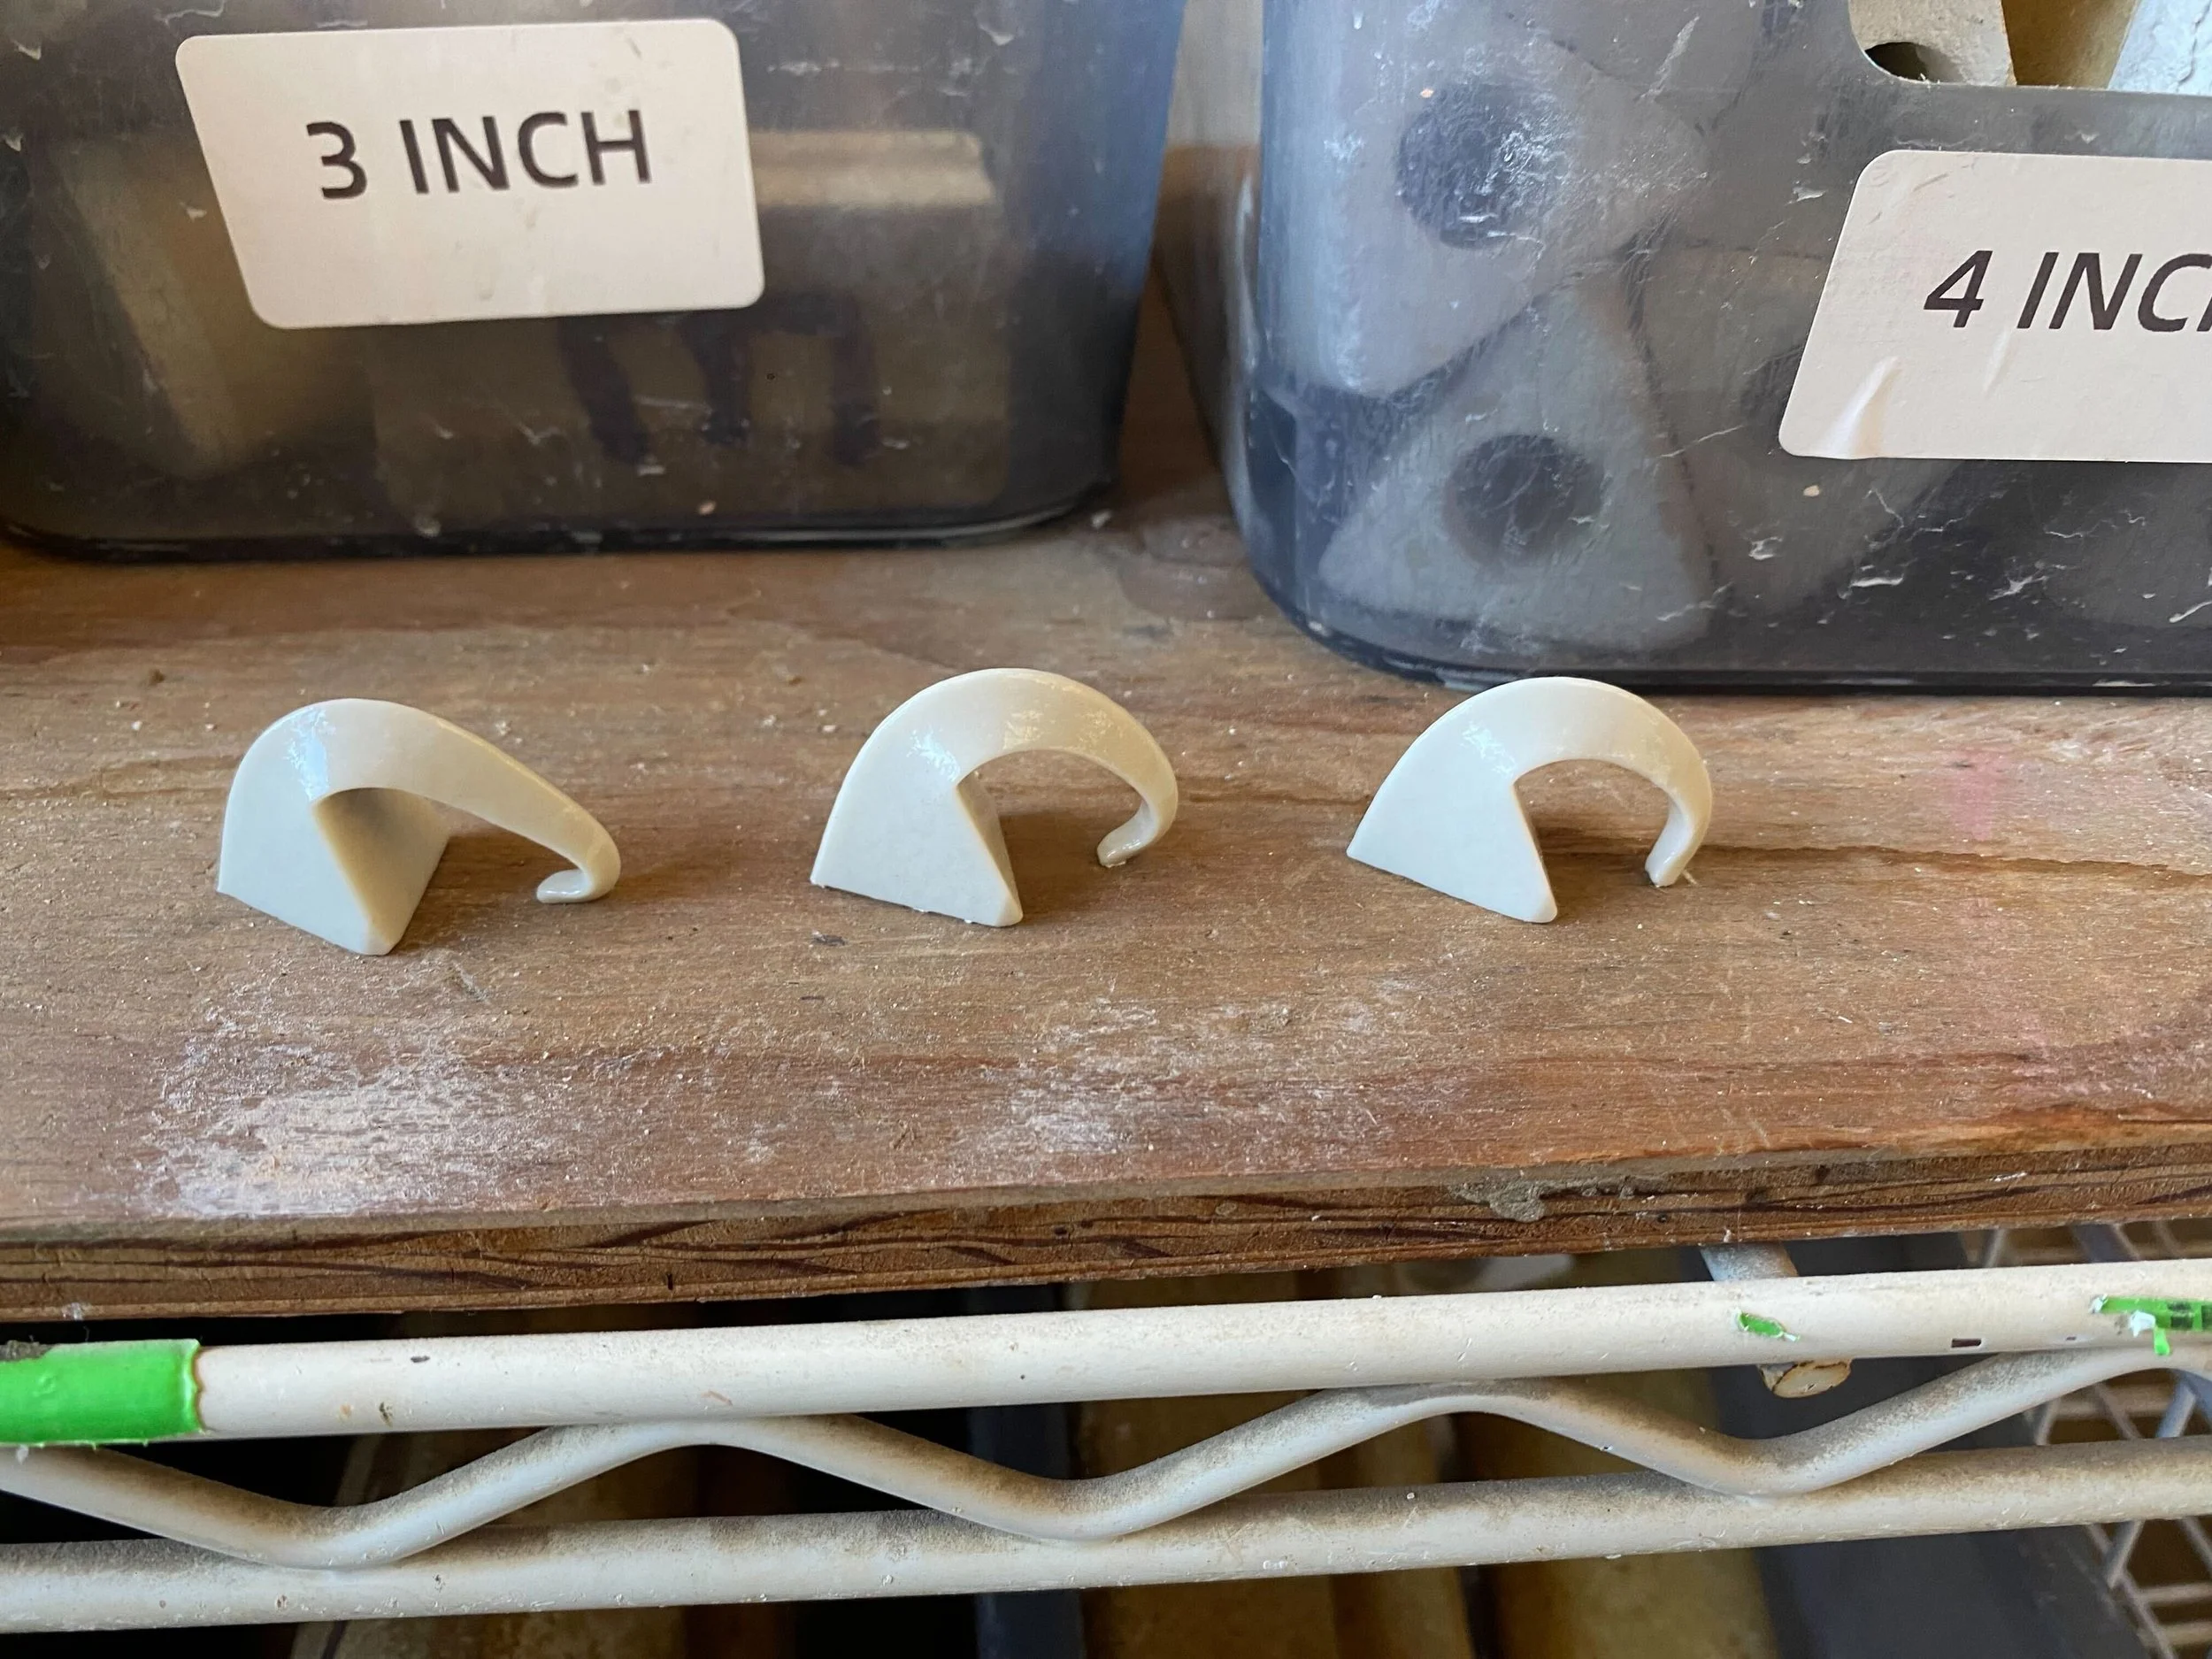
Cone Numbers: Understanding the System
This is where most beginners get thrown off — the cone system runs backwards, and the presence of a zero matters.
Rule of thumb:
Cones with a zero (06, 05, 04…) are lower temperature.
Cones with no zero (5, 6, 7…) are mid- to high-fire
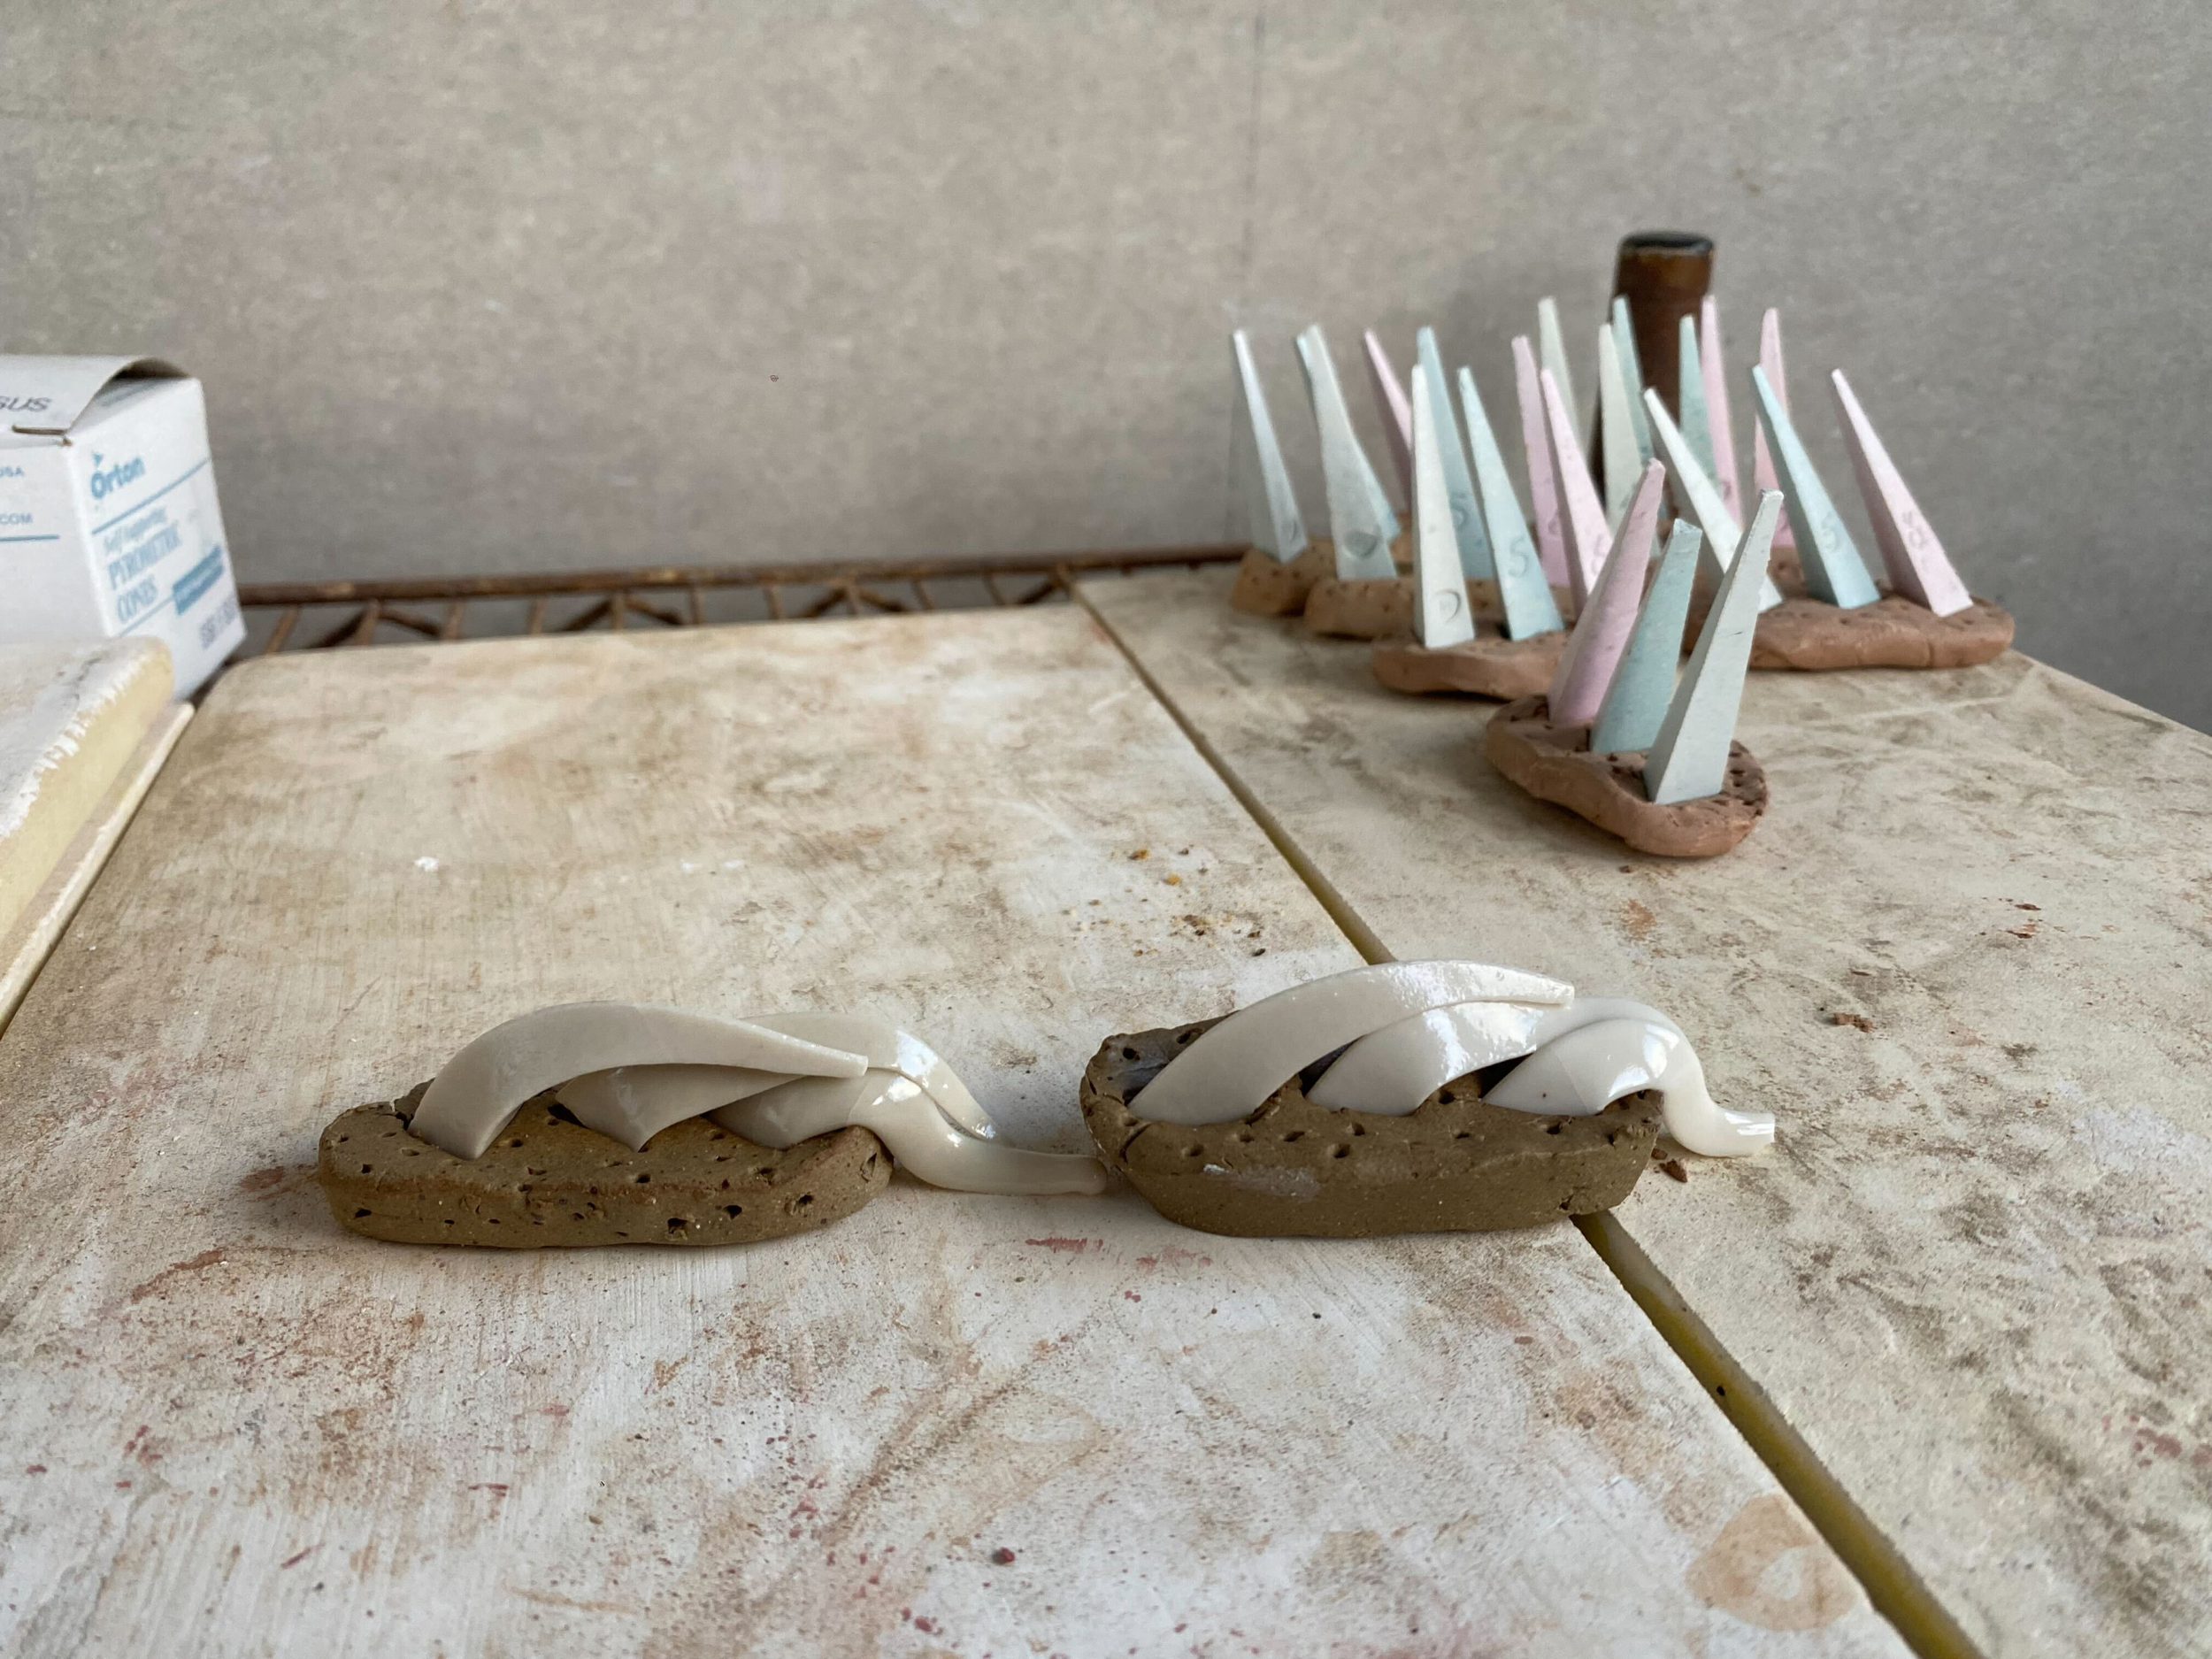
The cone packs in the foreground have melted in the kiln and the cone packs in the background have not been in a firing yet.
The big confusion: Cone 05 vs Cone 5
They are not related — in fact, they’re nearly 900°F apart.
Cone 05 = gentle, porous, perfect for bisque
Cone 5 = strong, vitrified, glaze maturation
Why We Bisque Fire to Cone 06
At both Mill Valley Pottery Studio and Amphora Ceramic Studio, we bisque fire all work to cone 06. We do this because cone 06 hits the “sweet spot” where:
The clay becomes sturdy enough to handle
It remains porous enough to absorb glaze beautifully
Underglazes bond well with the clay
Our glazes perform well on this kind of bisqueware
And just as importantly:
Bisque firing prevents explosions in the glaze kiln
Bisque firing removes moisture, organics, combustibles, and binding agents slowly and safely.
A blowout in a bisque kiln is inconvenient — but a blowout in a glaze kiln (full of shelves, glaze, and other people’s work) can be disastrous and leaves sharp shards of glaze and clay stuck to everything around the problem piece. This can also damage the brick of the kiln and the kiln elements.
Cone 06 ensures your work is safe, stable, and ready for glazing.
Why We Glaze Fire to Cone 5
Our studio clay bodies and glaze materials are designed for mid-range firing at cone 5.
Cone 5:
fully matures our stoneware clay bodies
produces strong, functional ceramics
gives us a huge range of stable, beautiful glaze surfaces
uses less electricity than cone 10 (more sustainable for community studios)
This level is ideal for everyday functional pottery — mugs, bowls, plates, planters, and more.
Why We Use Witness Cones in Every Glaze Firing
Even with modern digital controllers, witness cones are the most reliable way to measure heatwork.
At both studios, we use a minimum of three witness cones in every glaze firing — placed on multiple shelves.
They tell us:
whether the kiln reached proper heatwork
whether certain shelves fired hotter or cooler
when elements start wearing down
how consistent our firings are over time
whether a firing was over- or under-fired
Witness cones are one of the simplest and most powerful tools for quality, consistency, and troubleshooting.
Why Cones Matter for You, the Artist
Understanding cones:
helps you make sense of glaze results
explains why pieces sometimes look different between firings
improves your ability to troubleshoot
makes you a more confident, intentional maker
Whether you're brand new to clay or years into your practice, cone knowledge deepens your connection to the firing process.
Final Thoughts
Cones aren’t just technical tools — they’re how we understand what truly happened inside the kiln. They bridge the gap between science and craft, helping us make consistent, beautiful, durable work.
At Amphora and Mill Valley, we use witness cones in every glaze firing for exactly that reason. They help us fire safely, responsibly, and with intention — and they help you get reliable results, every time your work goes into the kiln.
— Lucy Alexander